A lot of you know that I started sharing my food love on Instagram, Twitter, or other social media. I had my handy dandy iPhone with me at all times and took photos whenever something looked delicious (almost everything I eat, obviously). I continued to use my iPhone when I first started my blog over a year ago but a part of me always wanted more. More light, more focus, just more. The amount of filters available through a plethora of apps was just not enough for me. To me, the way food is presented is almost just as important as how it tastes! We all know that we eat with our eyes and in the case of social media or on the blog, it was important to me that I at least try to do these beautiful dishes some justice.
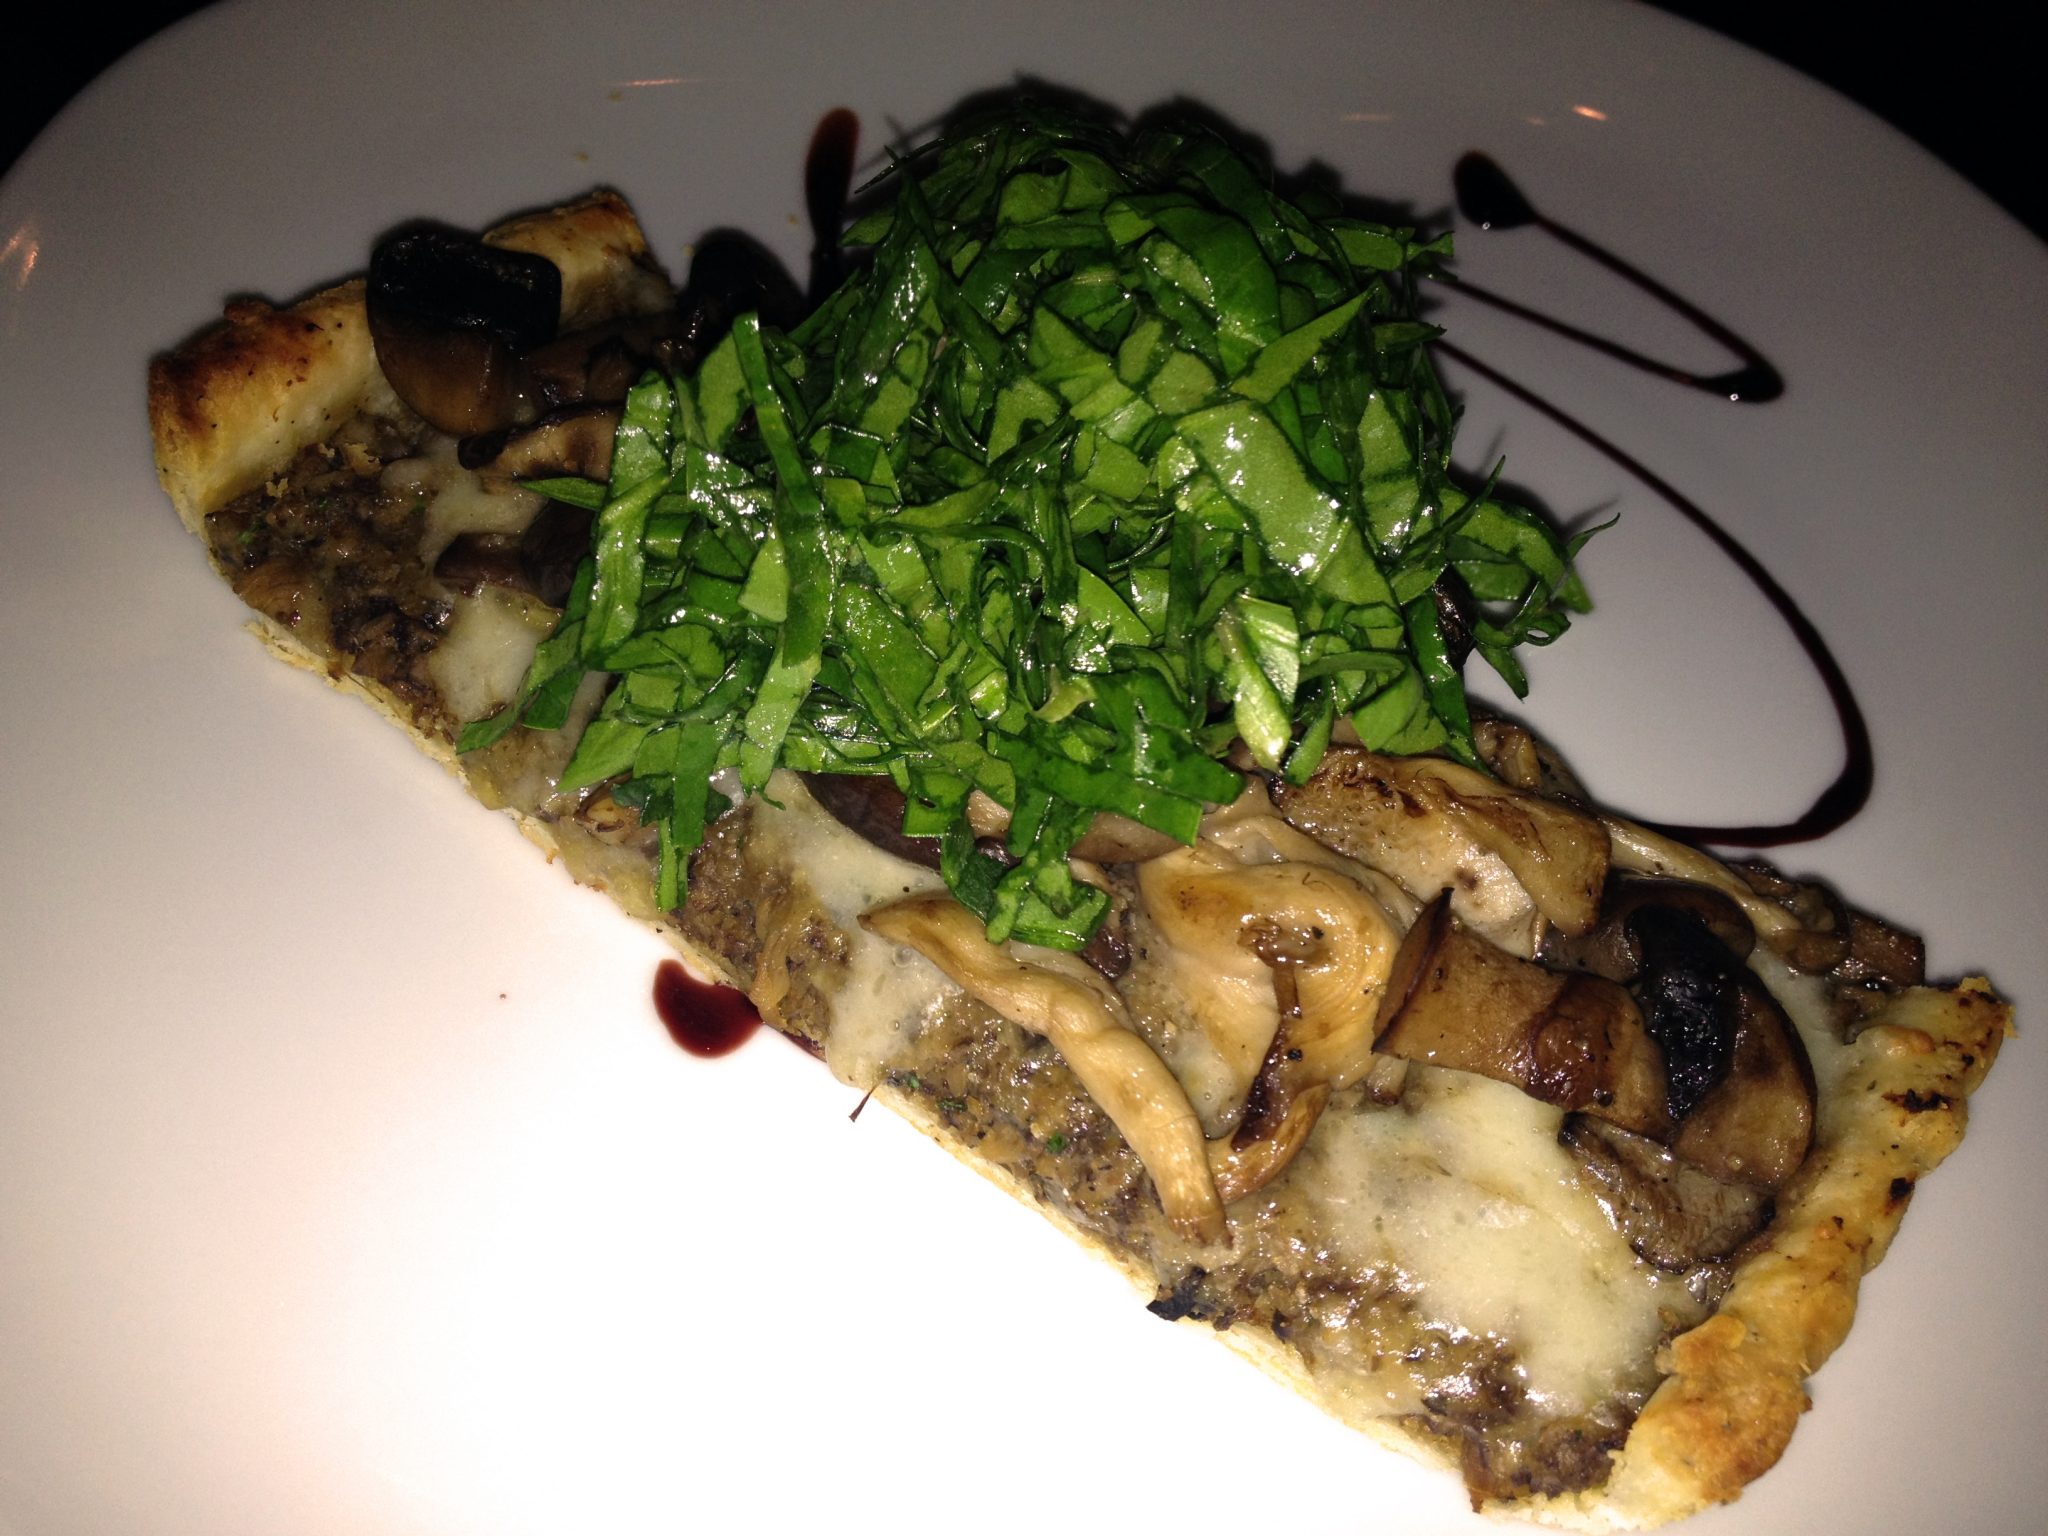
Warm Mushroom & Spinach Tart, Circa 2012
One of my pet peeves (as well as many others, I’m sure): FLASH. Flash on food just does not work. Unless you’ve got reflectors everywhere and fancy equipment to bounce light where you want it, flash just does not make food look good! One of my favorite restaurants, TZiN Wine and Tapas has unbelievably low light. Romantic and mood setting? Yes. Photographing? No. Oh how I wish I could smack my 2012 self right now. No flash means a dimly lit dish though. Perhaps grainy and blurry. How can a dish be appetizing if you can’t even see it?

Warm Mushroom & Spinach Tart, 2014
So I upgraded to a Sony A6000, one of the newer mirrorless cameras on the market a few months ago. Yes, you heard right, I bought a camera for the sole purpose of food. It was just driving me nuts. And although food photography is a new hobby for me, photography in itself is not. I have an old Nikon D50 (by God, is it bulky and heavier than the models now) stashed away somewhere and numerous toy (Lomography) and film cameras gathering dust on my shelf. I wanted something that could fit in my purse, light enough to carry with me every day, and have the flexibility of interchangeable lenses for future needs.

Sony SEL24F18Z 24mm f/1.8 E-Mount Carl Zeiss Sonnar Lens
Literally has changed my life. I know it’s not the camera, it’s the photographer. I get that. But I can honestly say that this camera made a heck of a difference. And it’s definitely because of the new camera that I pay more attention to details now. Since then, I’ve added another lens to my collection on the advice of more than one food photographers and research. Hurray for more light, more light!

Learning Food Photography
Not only is everything sharper, I have so much more control of variables in a restaurant setting or even at home, which is where I practice most of my shooting.

Broiled Grapefruit for Breakfast
As soon as I got my new camera, the library had a surge in the search “food photography”, “photography”, “composition”, and “food styling”. It opened up a whole new can of worms for me. Not only am I addicted to food now, I’m addicted to taking better photos of it and making it the yummiest looking photograph I possibly can. Apologies to all my friends who sit through a meal with me!

Edgar Farms Asparagus
One of the best resource that I have: Story on a Plate: Food Photography & Styling course that Lillian tweeted about. It’s an online video session on food photography by Todd Porter and Diane Cu, two of the best food photographers in the world. If you’re interested in food photography, I highly recommend their sessions. I’ve learned so much and I’m not even done all their videos yet. I think more about lightning now when I walk into a restaurant. I set everything up before the food even shows up! (I’m not fast enough to do it on the spot quite yet). I take multiple shots, different angles, different fronts, and don’t even talk to me about different food props for dishes at home. (If you want to give me any old kitchenware, linens, accessories, I’ll take them! Food prop hoarding galore over here!)

Tomatoes
I also learnt really quickly that all the books, articles, forums, videos in the world would not turn my photographs into something outstanding overnight though. Only practice would. So that explains a lot of random pictures on my social media that have nothing to do with restaurant reviews. And I hope you don’t mind following me along in the learning process! With every photo that I take, I always notice teeny little things that I would change after the fact. But hey, I suppose that’s learning. And I know that everybody has a different opinion as well! Some like the moody, dramatic photos. Some people like the light and airy look. I’m experimenting right now, but I think I have a thing for light and natural!

Smoked Salmon Waffle Sandwich, The Common.
Have some tips or feedback for me? What do you think? I’m open to learning and constructive criticism! Leave a comment below!

Hi Cindy,
Thanks for the post! I really enjoyed reading about your start into the world of food photography. In addition, I also like how you used the element of intersecting diagonals in your asparagus shot to create visual impact. Also, I liked how you used a variety of textures in the shot as well. There is the bumpiness of the asparagus heads, the graininess of the cutting board, and the coarseness of the towel in the background. The water droplets add a nice highlight to the styling as well.
Just like you, I’m a fan of natural light. The majority of my food photography is with natural light. So, I try to use it as much as possible. However, there will be times (more often than I would like) when I have no choice but to resort to flash, especially in restaurants with poor lighting. I also agree that flash isn’t the best way to light up food. However, I wouldn’t go so far to say that flash “absolutely” makes food look bad though, if I interpreted your statement correctly. If the subject is “overflashed”, then it’ll obviously look bad. However, if one knows how to use and balance artificial light (flash, studio lights) in combination with the ambient light, food can still look at least decent. Moreover, a little fill flash can also really help bring out some extra detail in the subject if needed. Don’t forget that there are other tools at your disposal in this process such as diffusers or photoediting software. A lot of the advertising photography you see for restaurants, especially the fast food burger places, appear to use only artificial lighting. In my humble opinion, their images still turn out quite good. Despite what I have just said above, I do still realize that food photography can be totally subjective and based on personal preference or style.
Anyways, I’m looking forward to seeing more of your food pics and following your progression in food photography. Thanks for reading my reply!
Cheers,
Byron
Hi again Cindy,
I just remembered what I forgot to write in my initial reply! lol
There will actually be times when I prefer to use artificial light over natural light. For example, if I’m in a restaurant with large windows letting in natural light but it’s cloudy outside or if the windows are not directly facing the sun on a sunny day without clouds (you are in the shade), I will always defer to using the camera flash. Actually, I will experiment and use both natural and artificial light in that situation. However, in the end, I will always prefer the shots using the flash. If you only use the ambient (natural) light, you’ll most likely get an unsightly blue color cast in the image (not even the camera will be able to correct the white balance if the setting is on auto white balance). You may be able to change the settings on the camera to make the image brighter in order to offset the blue cast; however, there will still usually be a color cast present. The color cast may even possibly be corrected in Photoshop; however, the colors will still look flat. Going back to the part about making the image brighter in order to offset the blue cast, it may come at a cost though. Wider aperture means less detail (or maybe the photographer will prefer the out of focus shot for an artistic effect?), slower shutter speed means a higher possibility of a blurred image, and a higher ISO means a higher likelihood of a more grainy image (having a full frame DSLR will come in handy). I’m sure you probably already know that information with your prior background in photography. Aside from the color cast itself, it is also important to note that the colors will look flat too. Sure, you can try to increase the saturation setting in Photoshop; however, it still will look flat. Photoshop can’t fix everything, but it’ll come pretty close!
Hopefully, you were able to learn some tips from both of my replies. On the other hand, maybe you were already familiar with what I was talking about. Again, thanks for reading my reply!
Cheers,
Byron
Hi Cindy! Oops…I’m now wondering if my initial email went through or not since I only see my second email. Cheers, Byron
All your comments went through. Comments are moderated. Thanks Byron!
Hi Cindy, thanks and you’re welcome! I was just second guessing myself there for a moment! Cheers, Byron